I decided I would go for it. Another builder friend of mine, Chris Elkins from Chapel Hill, NC, sent me some plans for a stitch and glue boat. That was really nice of him, but I just couldn't get the inspiration for that boat. The reason I was building a boat, after all, was to create a boat that had the traits that I wanted in a boat. Making a boat that someone else designed didn't work for me.
The boat I had at the time of beginning my build was a 17-foot tunnel hull Pathfinder made by Maverick Boats. This boat was a great boat, and perfect for introducing myself to skinny water red drum fishing. The upside of this boat was how skinny it was. It was light, and poled easily. The downside was that because it was so flat, it really pounded in a chop. On an average day in the Cape Fear area we will have 12mph winds at least by 10am. Even with the trim tabs working to help cut the chop, it still really beat you.
I wanted a boat that was a little bit more beamy, that was still flat bottomed and skinny in draft, but slightly more agressive at the bow. I wanted to be able to mash those trim tabs down and have something there to dig into and split that chop a little bit.
I used measurements from the pathfinder and from Chris' plans to use as a reference, and made up new measurements of my own boat. I cut out miniature stations from cardboard and glued them down to another flat cardboard sheet, laying them out so that I could see what the boat profile would look like. I was content so I started with wood, translating those same measurements to a larger size.
The boat was to be built with closed cell foam core called Divinycell. So, the first step was to build the plug. Since this plug was just for shape, I just used regular plywood from Lowe's. The first go was pretty terrible. I had the stations set out on the floor of the garage, and the design left much to be desired. The hull sides were almost straight up and down, and there was almost no V to the hull at the bow.


So, I took it apart, re-cut all stations forward of station 3, and then put it back together. I tried to make the v on the front a little more defined. It was about January 2010 at this point.


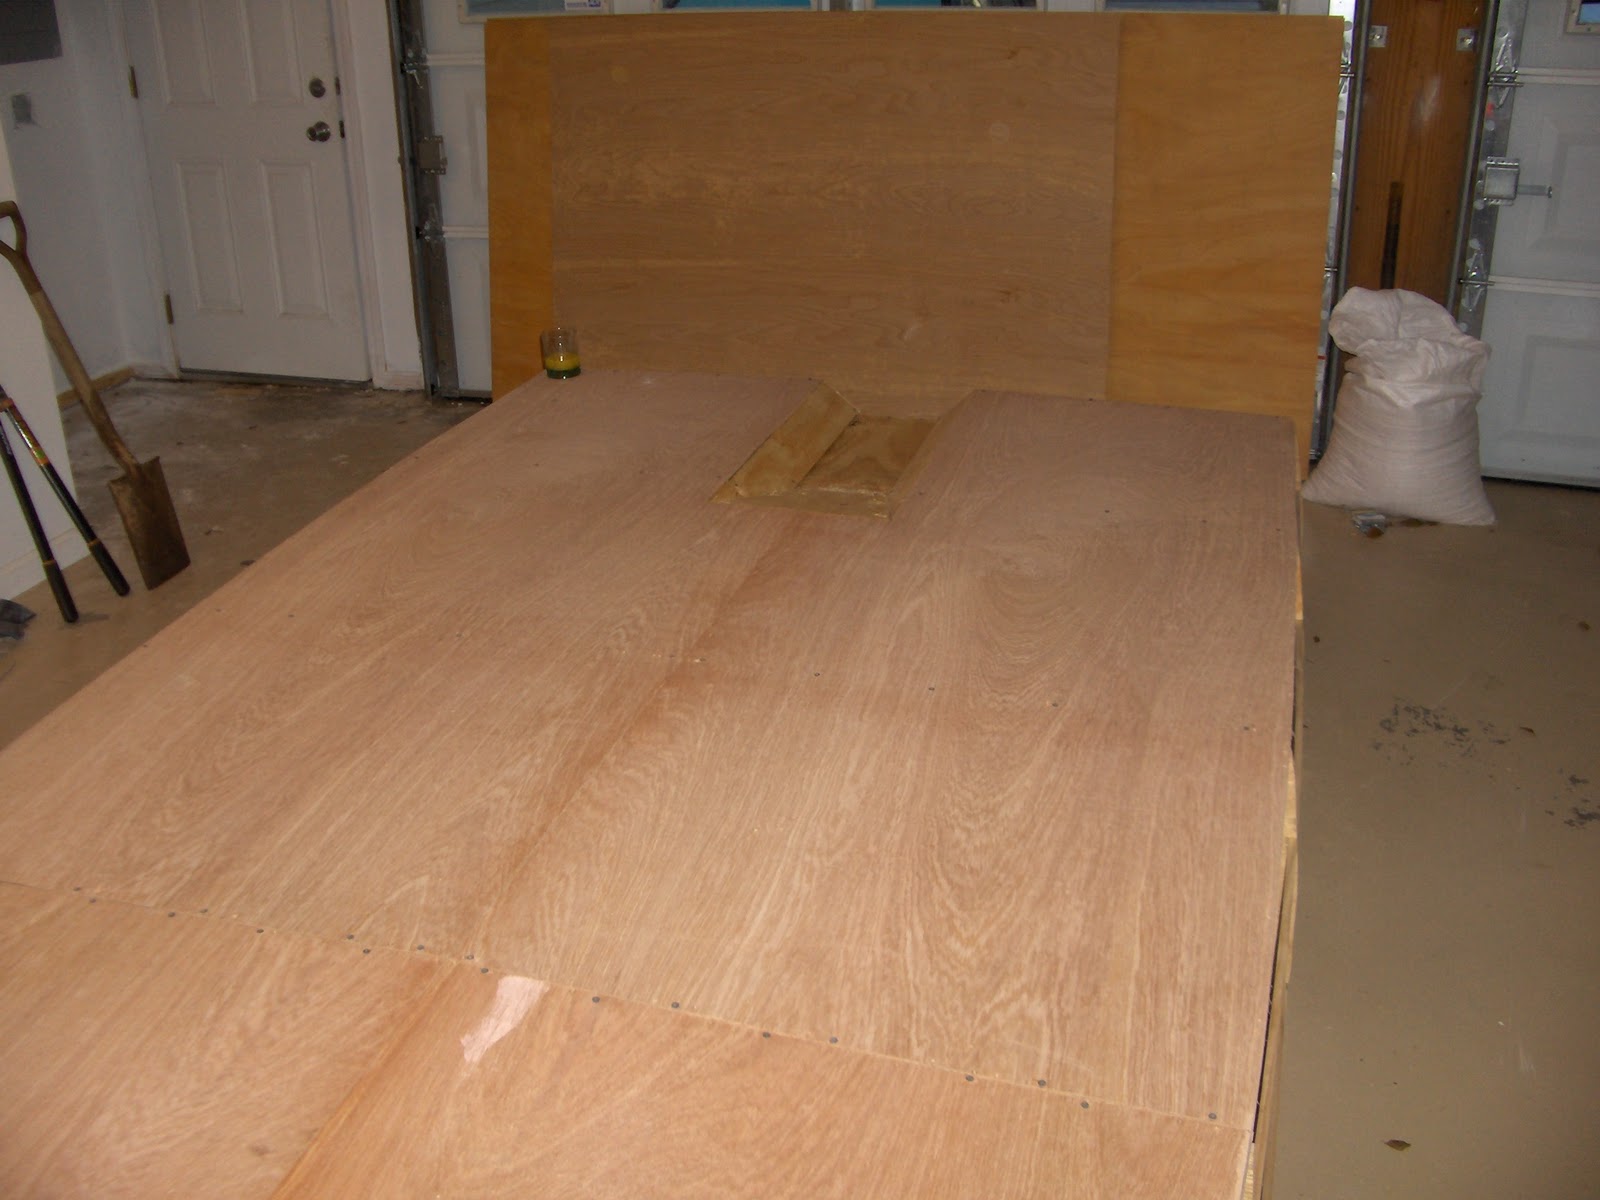

However, the first plug wasn't a total loss. There is a lot of thinking you have to do initially to try to determine how things will fit together, the heights of different stations, and the curvature of the different parts of the boat. I didn't have to do as much thinking this time. I just cut stations. One thing that was time consuming though was getting the stations fair. I used a batton, drilling half of the batton to the tip edges of the back three stations, and then flexing it into place. Then I measured from the building table up to the batton. This gave me a close measurement of how tall the station needed to be. Once I got the station cut, I used the batton again to measure the stations together. Almost always it would be off a little bit, at which point I used the power planer to shave a little off the top until the new station was in line with the others.


These are a couple pretty neat looking pictures I think.


I was also having troubles with the plywood sagging a bit between stations on the aft half of the boat, so I used the table saw to plane out a few sections of wood, and I kind of made a grid between the stations with them. This made the plywood sit right, and surely saved me many hours of fairing time later in the build.

Once skinned, the second chine really gave it a cool, unique look and shape.The voids, like the one on the keel below, were filled in with bondo to make the surface fair before laying the foam.


Here's Beau (of Johnson Custom Boats in Wilmington, NC) grinding the hard edges out of the plug.

Then it was time to build the prop pocket. I had some anxiety about this step, since I had read so many things online about how prop pockets have given people trouble. At this point my boat hasn't hit the water so I hope it will perform fine, but I used the same design as my builder friend Beau Johnson. It worked out great on his boat, so I am hoping to get the same results. Building the prop pocket was quite arduous. Cutting a concave fixture into a convex surface ain't easy. It took reinforcing members drilled in place between the stations to get the plywood to lay right--smoothly flexing instead of waving between stations.


Add bondo....Let it cure...

Sand it down....


And again...

And again...

Until the whole boat is smooth.


So the plug was finally really complete now that it was fair. I had a nice-looking, fair surface on which to build the boat, and had a design all my own that will hopefully perform the way I want it to on the flats and while riding. The next step was to attach the foam substrate over top of it. With the help of my wonderful wife (you have to have a pretty darn tolerant and supportive wife in order to build a boat) I covered the boat in plastic (the seams of the foam have to be epoxied together, and the plastic prevents the foam from sticking to the plug. It was June 2010 by the time I got it all covered in plastic. It took an extra month because I found a spot at Ocean Isle Beach at the end of April where the redfish were absolutely crushing shrimp on low tide. That was a good time. On the best day that I had my friend Kyle Hines came along with me, and we caught somewhere around 20 fish in about an hour and a half. I took my dad and his friend out there, but we only caught a couple fish. In the first 45 minutes of that trip my dad's friend had fallen off the dock at the ramp into the water, and my dad busted his knuckles open on an oyster cluster while trying to set the anchor--so I think that trip was just doomed from the start.
Here's my wife Kendell helping me wrap the boat in plastic. It was a lot like wrapping presents - in that I was terrible at it.


Bryan,
ReplyDeleteWow what a great story with similarities to my own unsatisfied quest. I have been looking to buy a 17T Pathfinder and have been attracted by all the stories about how shallow they ride and disappointed at how hard they ride. So ...why not build one! your quest resonates loudly!
Interested in selling? 865-755-0649 Shane
ReplyDeleteThanks for the compliment Shane. I've got a good bit of time and money in this boat, so it would probably take more than any normal person would be willing to offer to make me part with this skiff.
ReplyDelete